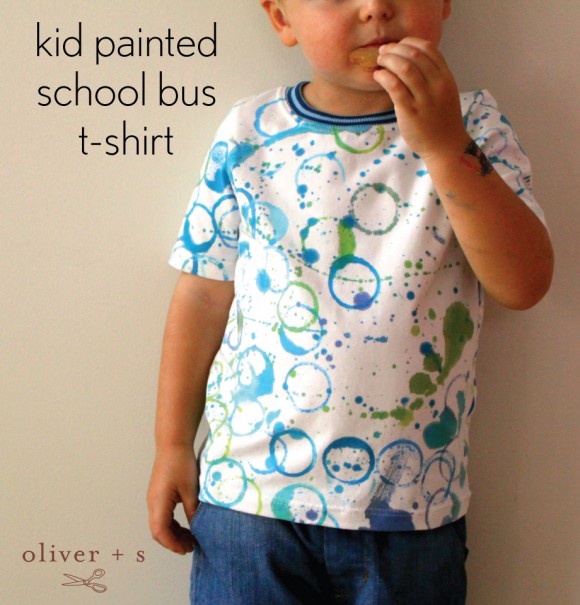
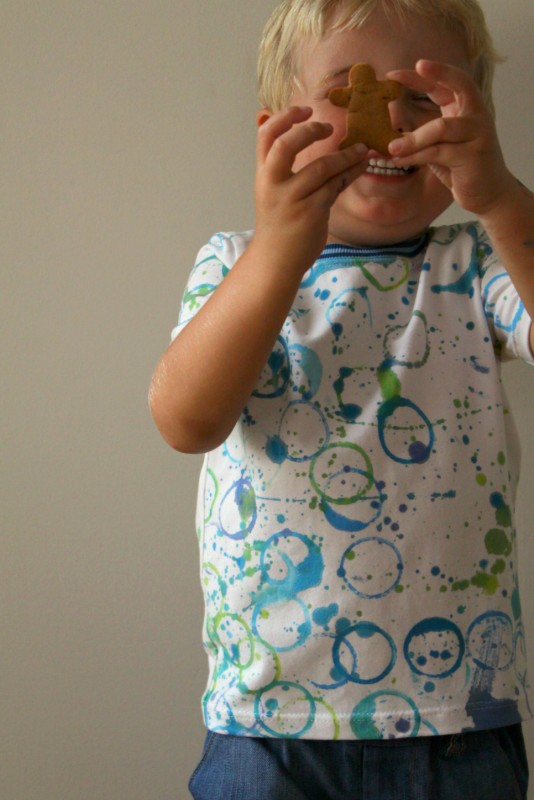
Welcome Ailsa today! She’s here to share her awesome technique for creating kid-friendly fabric paintings on knit fabrics. You’re definitely going to love what she’s done with the School Bus T-shirt she sewed—truly impressive results!
Hi, I'm Ailsa. I call Newcastle, Australia, home, where the weather stays warm and pleasant throughout the year. Given our climate, my family practically lives in t-shirts, making it essential to find great patterns and interesting knit fabrics.
Last year, during Kids Clothes Week with its "Kid Art" theme, I experimented with this method. I thought it’d be fun to let the kids paint their own fabric and turn it into personalized t-shirts. I hope you’ll agree it’s a fantastic idea!
### Things You'll Need:
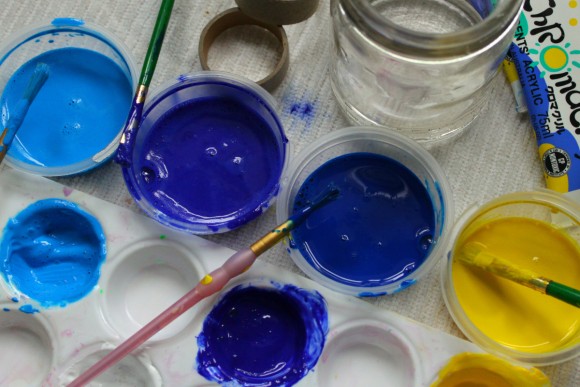
- **Acrylic Paint:** You probably already have some lying around. We used this brand, but alternatives like this work equally well.
- **Textile Medium:** Essential for ensuring your paint sticks to fabric. I went with this option, but another good choice is this one. While acrylic paint can cling to fabric (sometimes when you don't want it to), the textile medium ensures it won't wash right off.
- **Palette and Brushes:** For mixing colors and keeping things tidy.
- **Fabric:** Opt for a stretchy knit jersey, ideally with a touch of lycra. The School Bus T-shirt pattern recommends a minimum of 25% stretch, so make sure to test your fabric.
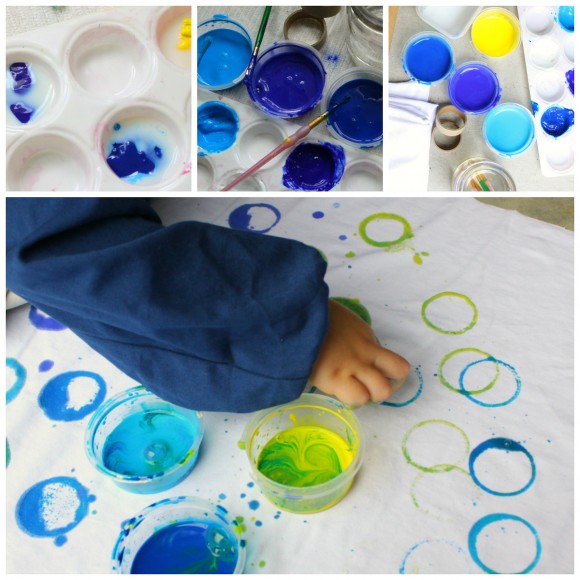
- **Cardboard Tubes:** Toilet rolls or kitchen wrap rolls work great, but we tried out the cardboard cores from washi tape rolls this time—they were perfect for tiny hands!
- **Protective Sheet:** An old towel or plastic sheet to cover your workspace. We worked directly on the concrete driveway, confident it would clean up eventually. If you're painting a pre-made t-shirt, place something inside to prevent paint seeping through to the back.
### How To Do It:
#### Step 1:
Mix the textile medium and paint as directed by the manufacturer. Dilute the mixture until it has the consistency of milk.
#### Step 2:
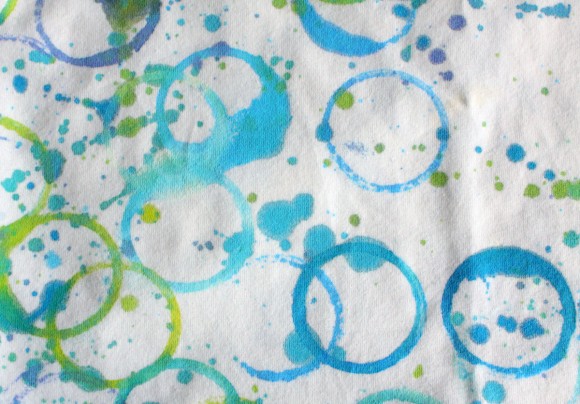
Lay down your protective sheet and fabric. Let the kids dive in! Start by dipping the cardboard tubes into the paint and pressing them onto the fabric to create circles. As the paint bubbles up and pops, expect squeals of excitement! From there, things naturally evolve into finger painting, brush-dripping, and ultimately, using every last drop of paint.
The trick is knowing when to stop before it turns into one big blob. Don’t worry if you end up with areas you’re not satisfied with—kids can always add details with fabric markers or permanent markers like a Sharpie.
#### Step 3:
Let the painted fabric dry completely. Once dry, follow the manufacturer's instructions for heat-setting. I ironed mine for the recommended time, but you can also throw it in the dryer if you prefer.
#### Step 4:
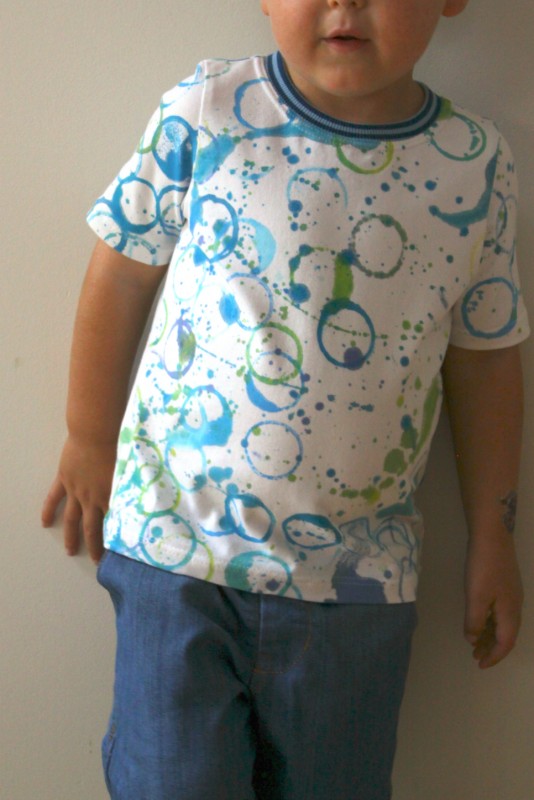
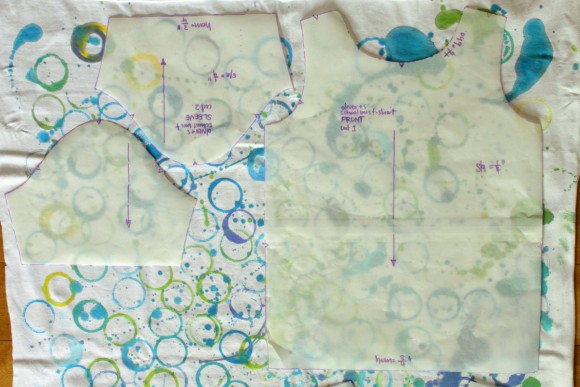
Sew it up! I made a size 5 for my 3.5-year-old who’s quite chunky, so the sizing felt spot-on. Following the excellent instructions, I made only minor adjustments:
- I traced two sleeves and the front and back pieces at full width to better select which parts of the design I wanted to feature.
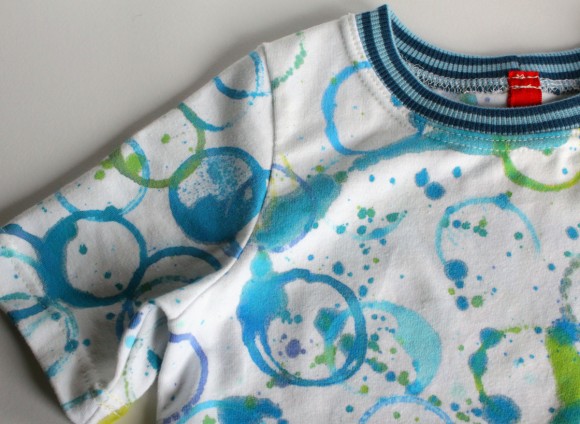
- Since my kids have big heads, I did a "Big Head Adjustment" by cutting 1/4 inch off the neckline of the front and back pieces. To determine the correct neckband length, I measured the new seam line (a seam allowance away from the pattern edge), multiplied it by 3/4, and used that measurement to cut my ribbing. I've used this Ottobre ribbing before and found it to be highly stretchy, so I knew this ratio would work. For less elastic materials, I might adjust to 7/8 instead.
- Lastly, I topstitched the neck with a double needle. Normally, I opt for a single, narrow zigzag stitch to keep the seam allowances flat, but this time, the double needle worked seamlessly, so I continued with it.
While putting together this tutorial, I've been brainstorming additional ways to experiment with this technique:
- Try other shapes for printing—like cookie cutter stars. I wonder if plastic shapes would work as well as cardboard? Corks or even potato stamps could offer new textures.
- Use a paintbrush to create stripes. Think of something like Liesl’s approach but with a messier, more drippy effect.
- Placement printing involves cutting out fabric pieces first, allowing you to position the designs exactly where you want them—around the hemlines or over the shoulders, for instance. My kids are still a bit young to follow such detailed instructions, but it’s something I’d love to explore in the future.
- Bleaching a dark fabric could be fun, though maybe best done without the kids' supervision!
- Galaxy prints sound exciting—splatter colors onto bleached areas for a cosmic effect or replicate fabrics like these.
There’s endless creativity to be had with fabric, paint, and a classic t-shirt pattern. Thanks, Oliver + S, for having me, and thanks for reading!
---
**Ads by Google**
**Related Posts:**
Shower Sponge,Exfoliating Sponge For Body,Body Wash Sponge,Body Scrub Sponge
ZHOUSHAN FOISON IMPORT AND EXPORT CO.,LTD. , https://www.foison-fashion.com